How to Create a Custom App Access Token in Shopify
A custom app is a great way to give access to third parties, and freelancers alike! Doing so allows you to extend the functionality currently offered by Shopify. Whilst a similar process to private apps (now deprecated), the initial setup is different.
We must point out that Shopify API credentials, I.E Shopify API key, and API secret for private apps over basic authentication will still work for legacy integrations, but the new approach requires the need to create a custom app, add permissions, and install. This in turn gives you an access token, the access token is what you would generally forward on to third parties/freelancers.
Shopify really does stress the importance of security, but to echo what Shopify has already stated - Be vigilant and only give permissions to what is needed. To better extend, if you’re creating an access token to forward on, please ensure that you only enable the scopes that are required. I.E Read or Write, or potentially both - Read and Write.
Below you’ll find a walkthrough on how to create a custom app, and access the Shopify access token.
Steps to Create a Custom App Access Token in Shopify
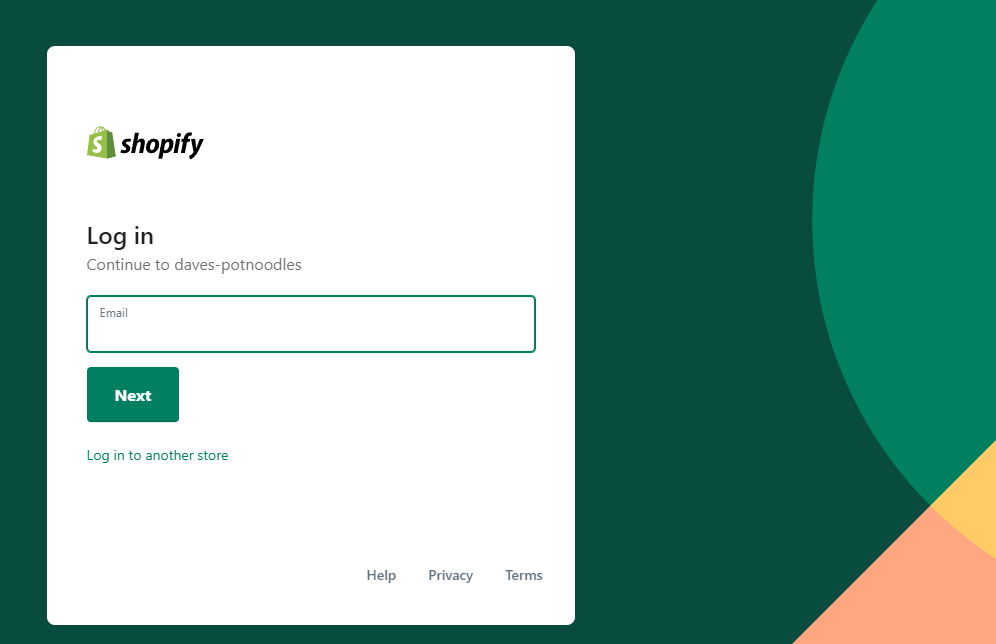
Step 1: Login
Navigate to your admin login page and log in.
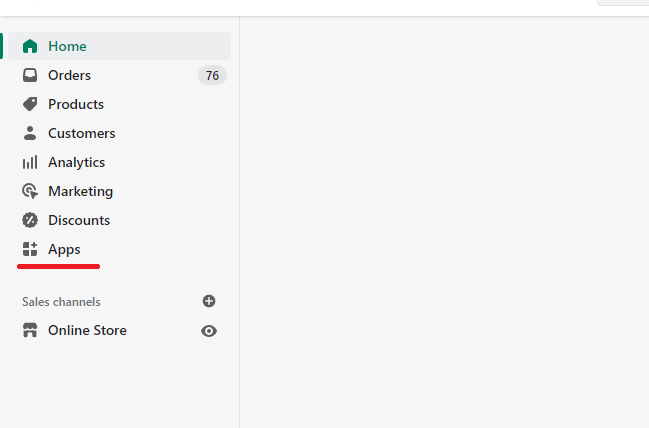
Step 2: Apps
Navigate to the left side panel, scroll to the apps button and click.
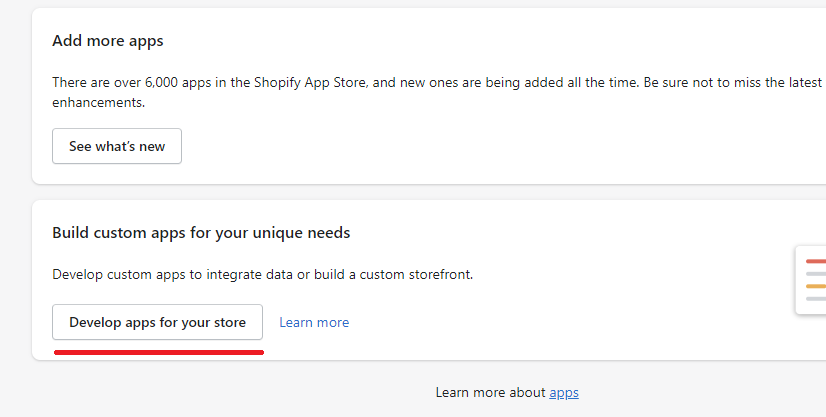
Step 3: Develop apps
After clicking apps, Find and click the "develop apps for your store" button.
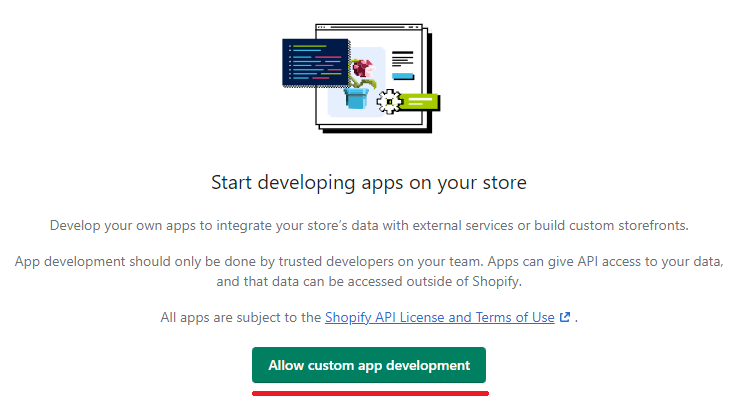
Step 4: Start development
Here you'll just need to click the "allow custom app development" button.
Step 5: Allow development
A word of caution to ensure you want to proceed. Click the "allow custom app development" button again.

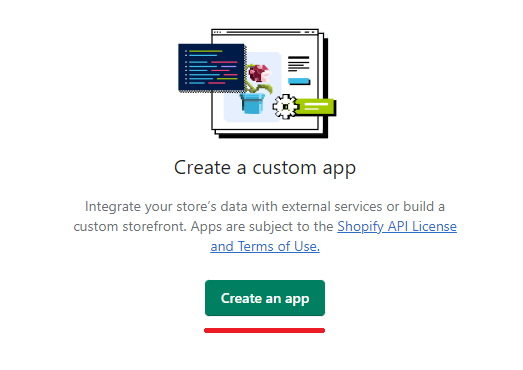
Step 6: Create an App
Click the "create an app" button.
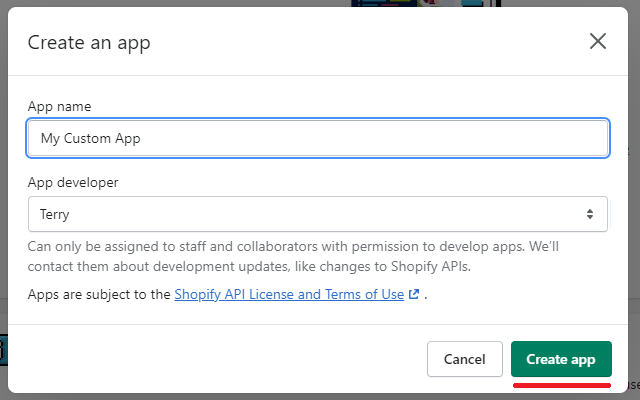
Step 7: App Details
You should now see a popup requesting custom app details. Give the app a name, and assign the app to a Shopify admin, or Shopify staff member.
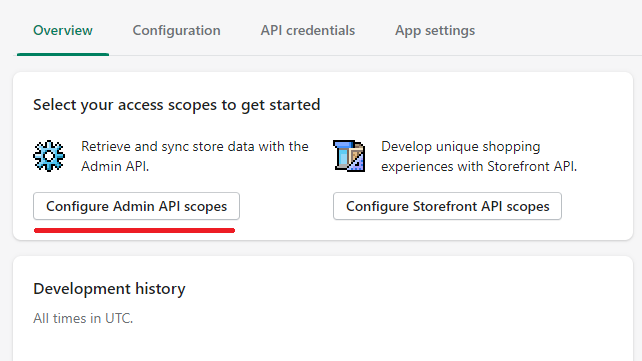
Step 8: Configure admin API
For the purpose of the demo, we'll select "Configure Admin API Scopes (permissions)".
The Admin API is essentially the back-end (Liaising/Manipulating Data), and store front is generally flows and experiences.
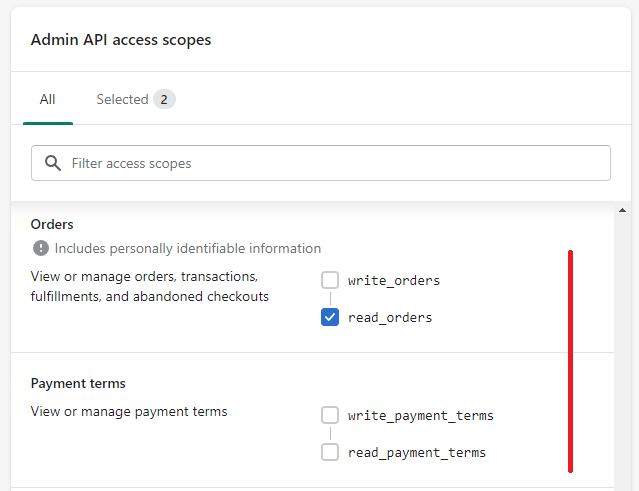
Step 9: Scopes (Permissions)
Custom app access - this is what the app can do, or better for words, access! A scope is a permission. Be cautious and only "check" what you need.
Don't forget to save
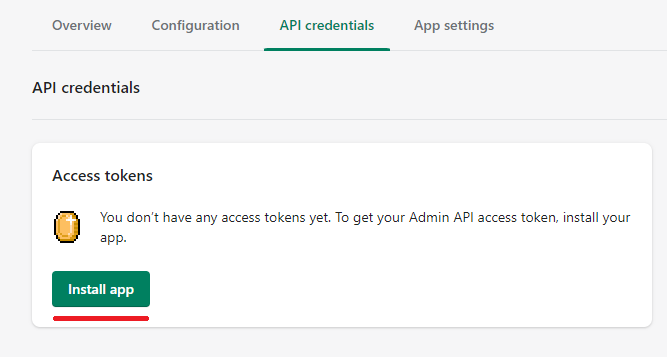
Step 10: Install
Once you've save (previous step), you'll want the click "Install app".
To note, this does not actually install, but rather creates a connection between the API and the permissions, whilst allocating an access token to your app/instance.
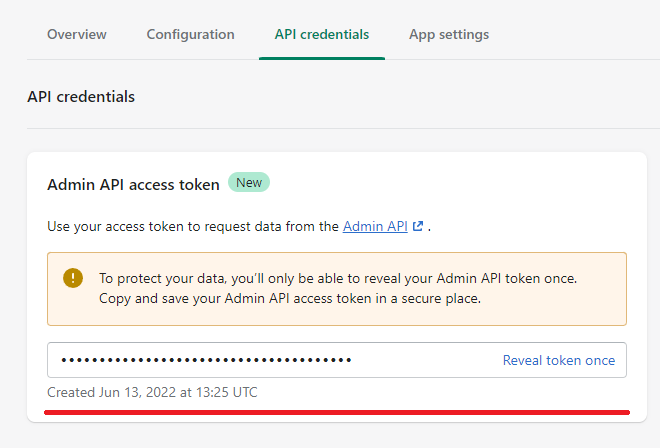
Step 11: Copy the Access Token
Success! You've created a custom app container, ready for API access.
Please note that you'll be able to view the access token once! Copy it, and store it!
This is the token that will be used to access the API.
The Takeaway
Creating a custom app, and retrieving the access token is a simple step process, we strongly encourage you to really think about who you are giving access to, and exercise extreme caution.
You have a reportability to ensure all customer data is safe, and you protect yourself from malicious intent.
To summarize we've briefly covered:
- Steps on how to create a custom app access token in Shopify
What next:
- Learn how to increase Shopify traffic
- Learn how to add a product to shopify that sells
- Shopify traffic but no sales? 14+ conversion tactics to try
- Learn how to blog for business to build trust and authority
- Share this post, every little helps.
- Subscribe to our newsletter below for tips and tricks to help boost sales.
Additional Shopify Resources
With Shopify being one of the largest eCommerce platforms on the market means you’ll never be short of resources to learn how to build a profitable eCommerce business.
Kanteneo aims to be the best Shopify blog on the market, but you may require additional resources to help you on that journey. Below we’ve listed a top-selling Shopify book by Veronica Jeans to help you learn how to launch a profitable business.


