How to Edit the Order Confirmation Email in Shopify
When taking your Shopify store to the next level, you often find little tweaks to improve conversion rates, brand awareness, and loyalty.
Editing your Shopify order confirmation email may seem insignificant, but even the slightest tweak in a paragraph, or rewriting to fall in line with your brand, can make a huge difference.
Shopify has covered every possible scenario when it comes to helping you run a successful eCommerce business, but there are many areas that you can improve to help secure additional sales.
When it comes to email, Shopify automates email for the most common order processes, but by no means do you need to stick to the convention. You can disable the order emails and use an external tool, like ConvertKit!
ConvertKit allows you to set up drip sequences, and automations to help increase conversions.
ConvertKit
Below is an extensive list of the order notification emails. All of these can be edited!
Orders
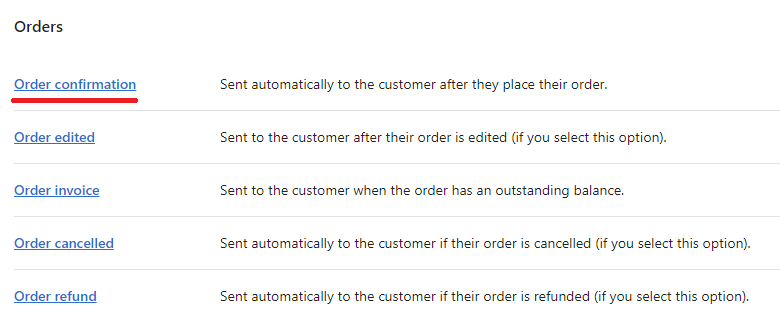
- Order confirmation - Sent automatically to the customer after they place their order.
- Order edited - Sent to the customer after their order is edited (if you select this option).
- Order invoice - Sent to the customer when the order has an outstanding balance.
- Order canceled - Sent automatically to the customer if their order is canceled (if you select this option).
- Order Refund - Sent automatically to the customer if their order is refunded (if you select this option).
- Draft order invoice - Sent to the customer when a draft order invoice is created. You can edit this email invoice before you send it.
- Abandoned POS checkout - Sent to the customer when you email their cart from POS. Includes a link to buy online.
- Abandoned checkout - Sent to the customer if they leave checkout before they buy the items in their cart. Configure options in "checkout settings".
- POS exchange receipt - Sent to the customer after they complete an exchange in person and want to be emailed a receipt.
- POS exchange V2 receipt - Sent to the customer after they complete an exchange V2 in person and want to be emailed a receipt.
- Gift card created - Sent automatically to the customer when you issue or fulfill a gift card.
- Payment error - Sent automatically to the customer if their payment can’t be processed during checkout.
- Pending payment error - Sent automatically to the customer if their pending payment can't be processed after they have checked out. Learn more about pending payments.
- Pending payment success - Sent automatically to the customer when their pending payment is successfully processed after they have checked out. Learn more about pending payments.
With the above list in mind, it’s important to ensure when changing email templates to better match your brand, and tone, the changes should be reflected across all emails sent to customers.
For example, If you add your logo to the order confirmation, then add it to the abandoned cart email, and so on.
Related blog posts:
- How to change collection URL in Shopify
- How to add a product to Shopify the right way
- How to create a drop-down menu in Shopify
- How to create a collection in Shopify
- How to add a blog to Shopify
- How to add meta tags to Shopify
- How to remove powered by Shopify
- How to add users to Shopify
- How to add a logo to Shopify
- How to turn off the Shopify abandoned cart email
Below we’ll cover two scenarios, adding a logo to an email, and editing the template. It’s worth pointing out that if you have any coding ability, or are a little dubious about editing code, then you can either outsource or use an app.
For outsourcing, it’s better to use Upwork, where your money is safe if a dispute arises. Never award work to someone without vetting/due diligence.

Upwork
For an app, we’ve found that OrderlyEmail is by far the easiest, fastest, and relatively cheap to edit emails without the need to understand the depths of variables, HTML, and styling.
OrderlyEmails
How to Add a Logo to a Shopify Email Template
Step 1: Settings
Click Settings.

Step 2: Notifications
Click notifications.

Step 3: Customize Email Templates
Click Customize Email Templates.

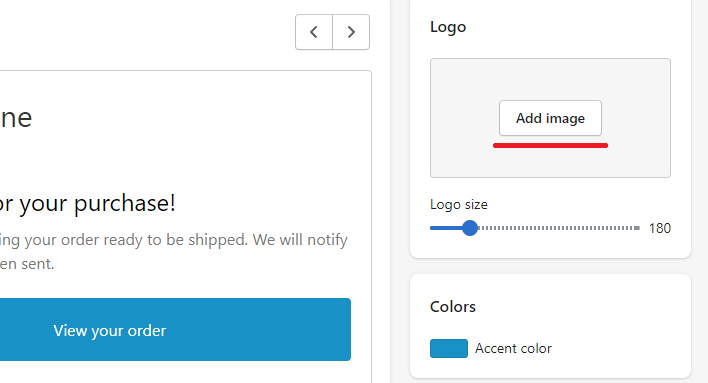
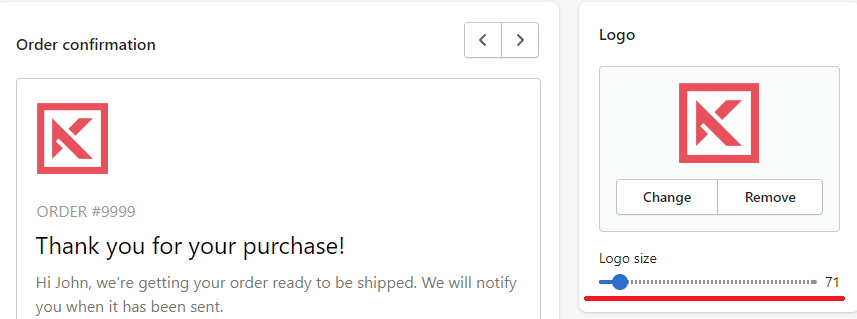
Step 4: Add Image
Locate and click the add image button under logo settings
Step 5: Use Image
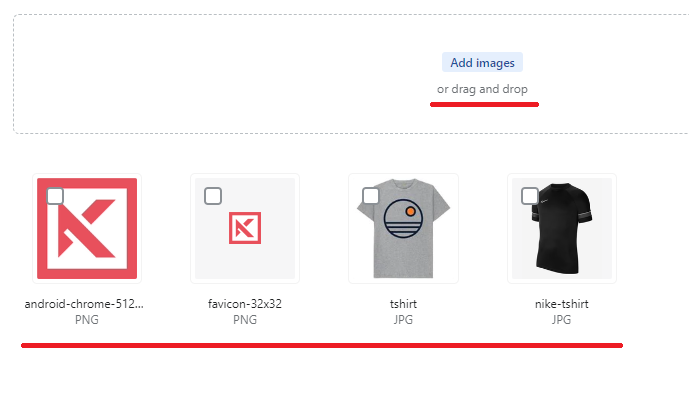
Select an existing image from the library, or upload a new one to use as the email template logo.
Step 6: Email Template Preview
At this point you'll need to save to see the changes reflected in the preview window. This also applies to adjusting the size.
If you can see the email template logo, and you're happy with the results, that's it! Complete.
Adding a logo at the base level, including any changes to the color, will ripple across all other templates.
How to Edit the Shopify Order Confirmation Email
Step 1: Settings
Click Settings.

Step 2: Notifications
Click notifications.

Step 3: Order Confirmation
Click order confirmation.
Step 4: Edit Template
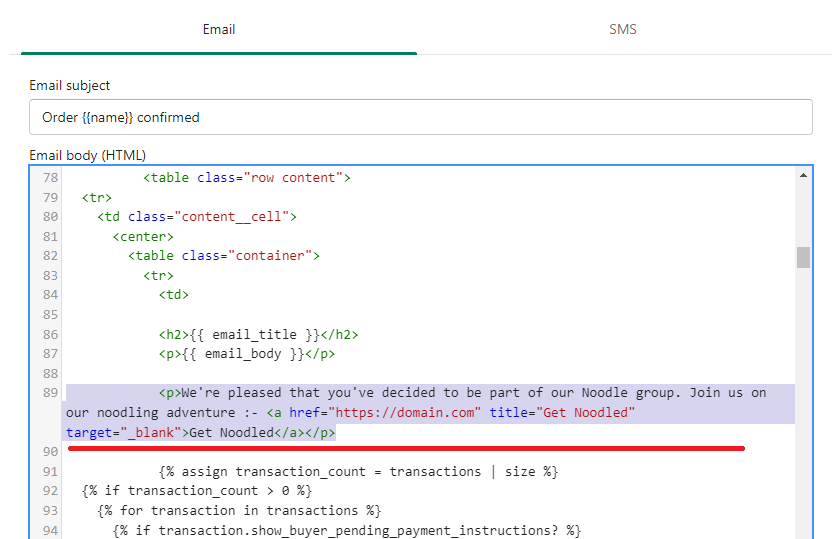
Do not copy the code in the image!
Here you'll want to add your code. This should be clean, and flat HTML. Do not add JS.
Step 5: Preview Changes
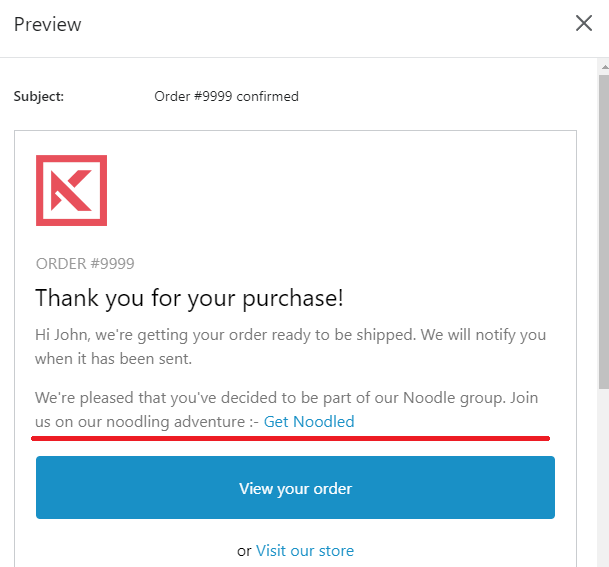
Always preview your changes before clicking save. The obvious areas to check is whether the HTML rendered as you expected.
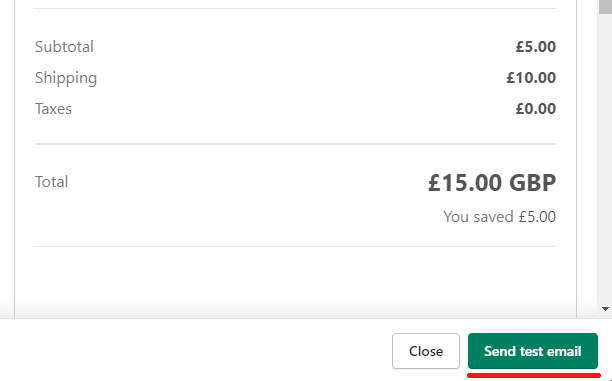
Step 6: Test Email
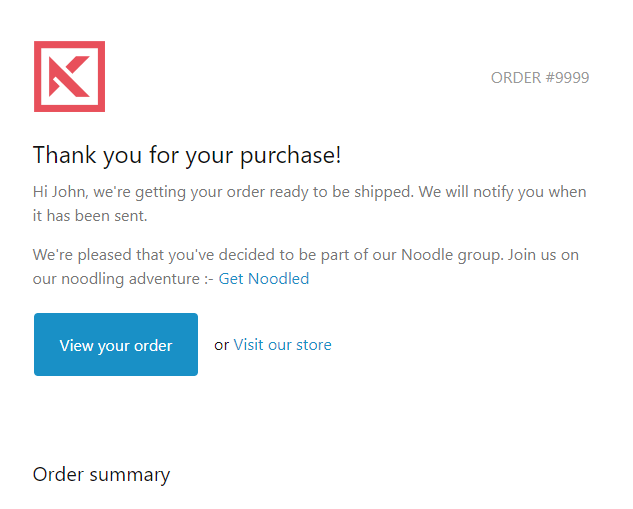
Apart from previewing the changes, it's also important to send a test email, you'd be surprised how many email clients render HTML differently.
Success
If you're happy with the results from the test email, congratulations! Don't forget to click save!
As we've stated previously, editing the code can be a challenge for some. So if you are not comfortable, do not make changes on a live store without previewing and testing first. Failing that, you can outsource to Upwork, or use a Shopify app, Orderly Email Templates.
The Takeaway
Building an eCommerce empire is challenging, time-consuming, and frustrating. However, it can be the most rewarding sense of achievement from the first sale to the millionth sale.
When editing your email templates ensure that they are consistent across the board, and you test each and every one to ensure that they’re grammatically correct whilst being aesthetically pleasing.
To summarize we've briefly covered:
- How to add a logo to a Shopify email template
- How to edit the order confirmation email in Shopify
What next:
- How to increase Shopify traffic
- How to blog for business
- Shopify traffic but no sales?
- The Best Shopify apps for SEO
- Share this post, every little helps.
- Subscribe to our newsletter below for tips and tricks to help boost sales.
Additional Shopify Resources
With Shopify being one of the largest eCommerce platforms on the market means you’ll never be short of resources to learn how to build a profitable eCommerce business.
Kanteneo aims to be the best Shopify blog on the market, but you may require additional resources to help you on that journey. Below we’ve listed a top-selling Shopify book by Veronica Jeans to help you learn how to launch a profitable business.


